Tag Archives: DIY

Spice It Up for Your Love

After yet another brief (ha) hiatus, I’m happy to be back! Without further ado. . .

My family and friends aren’t big on gifts, so when it comes time for them, I’m the kind of gal who would much prefer to think creatively and put together a less expensive gift that comes from the heart. Going to the store and buying something is so risky (as far as the person liking it as well as it being a possible waste of money on your part). I’d much rather risk a “. . . Thankkkkks” from something I made than something I bought, because I think with the love that goes into it, the odds are better they will like it even if it’s a little quirky.

My boyfriend loves dousing his food with hot sauce, so I thought making him his own blend from scratch would be something he’d enjoy. My talented mother has made her own using this method several times, so I knew what kind of results to expect. It’s so simple. Ready?

Pick out whatever chilies you like at your local produce market. There’s a range of heat and flavors and the wonderful Google can help you narrow down your choices. You might want to consider color, as well. A mix of green and red will yield a brownish sauce, so I opted for all green. I wanted options for flavor, so I chose thai peppers, jalapeños, and serranos.

Chop off the tops and toss them into a blender with a healthy dose of salt. I did each variety in its own batch so I could custom blend after they fermented.

Chilies to Blender

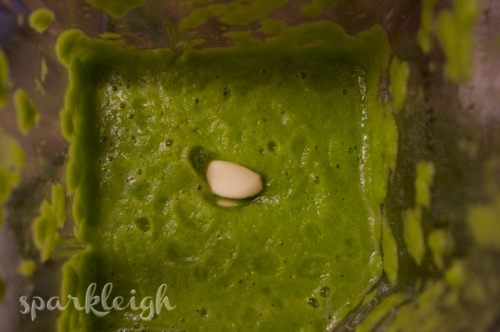
I added two cloves of garlic for a little flavor boost.

garlic, blended, chilis

This next step is key to expediting the fermentation process. My mom is super into this immune-boosting process, so I’ve had some time to get used to the idea. It’s a weird concept at first, but it’s how people have been preserving and eating food for thousands of years. In fact, even Tabasco is aged three years before being cooked, blended, and bottled. Back to the next step, which is to add a small amount of starter to the pepper blend. There are quite a few options, like whey, liquid from kefir, or in my case sauerkraut brine. I added about 1 tablespoon to each batch.

sauerkraut juice fermentation

I labeled my jars to keep track of flavors for future sauces, and it was interesting to see how they fermented differently.

hot sauce ferment raw

I added loose plastic wrap and lightly put on the lids (maybe 1/4 turn) to allow any excess gasses to escape.  The below picture is how they looked after about seven days. It’s not very pretty, but all the stuff you see in stores is filtered and filled with coloring/preservatives to look appetizing to the masses.

fermented chili pepper, jalepenos

The jalapeños actually ended up being my favorite, flavor-wise. I used all of that mixture and then a little of the other two (which were somewhat bitter) for their heat. I blended it all to a fine consistency and added a small amount of homemade vinegar to lighten it up and add some tang.

IMGP6955

This is the point where store-bought sauces would be cooked, but I chose not to do that to leave all the good bacteria in there. Your gut will thank you for it! Just make sure to store your sauce in the fridge; the cold temperature will slow the fermentation to a tiny crawl and it will keep for a long time.

diy hot sauce label

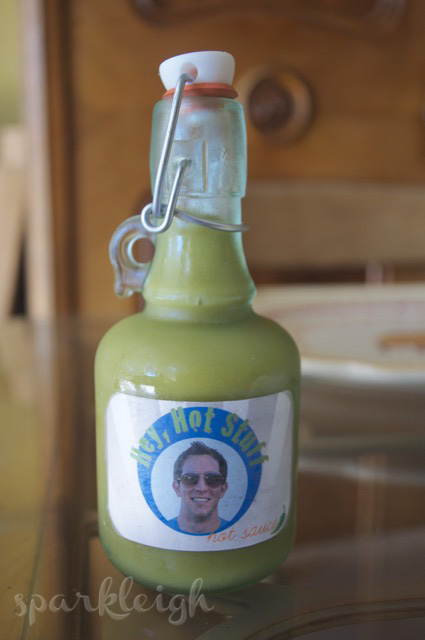
My final step was to bottle it up and add a silly label. Don’t judge my design skills; it was 3 a.m. and I had to get up three hours later. 🙂 Obviously, I was hamming it up. I found this adorable bottle at Marshalls.

hot sauce bottle custom

See? Made with love. (And a little bit of orange nail polish.)

Homemade hot sauce diy heartI was pressed for time, so I only fermented the peppers for a week before blending and bottling them. I plan on doing it again with other kinds of peppers and letting them ferment for a few weeks to yield a better flavor. S has already requested a spicier version using ghost peppers (ouch). More fun ahead!

2 Comments

Filed under Nosh

Belated Thanksgiving 2012 Update

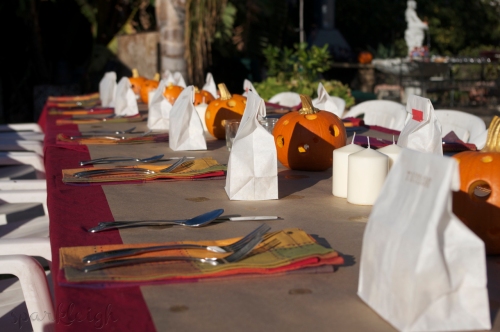
Now that we’re safely into the new year (ohhh, by almost two months!), I think it’s time I posted my thanksgiving decor. It was super low budget, but I accomplished the feel I was going for. Without further ado, our alfresco Thanksgiving dining experience:

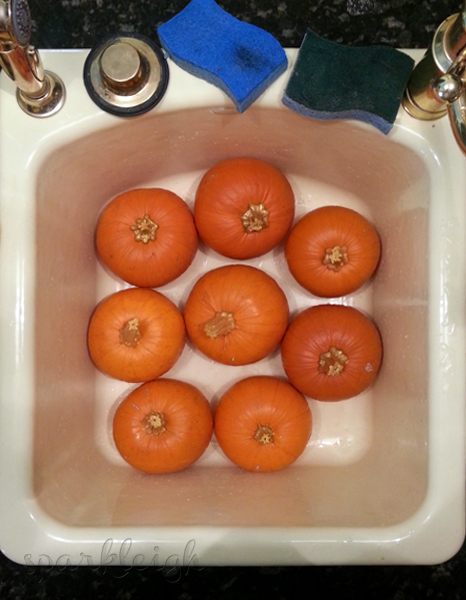
First, I painted the stems of small pumpkins gold.

sink

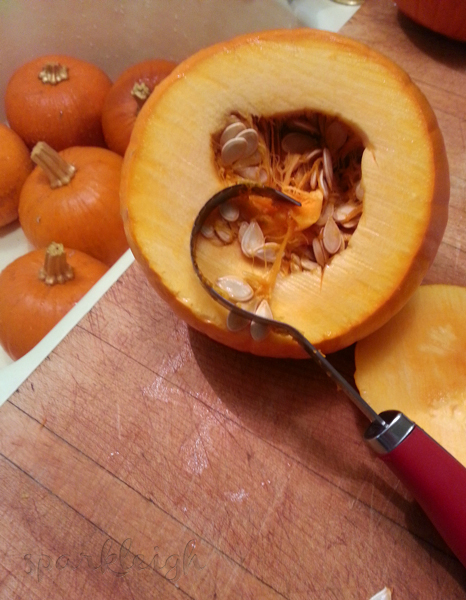
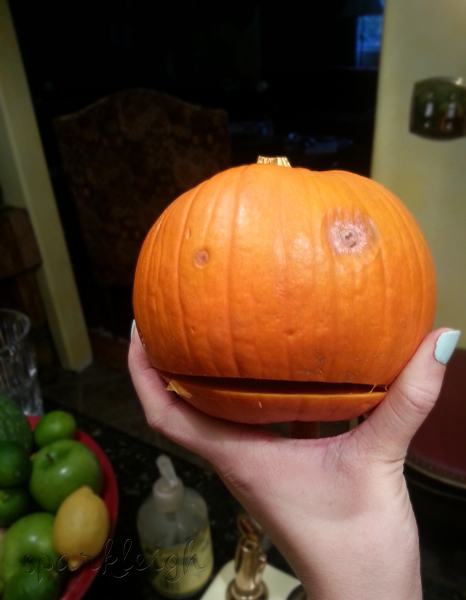
Then I cut the pumpkins on the bottom in order to hollow them out and create luminaries. This was my first time carving/decorating a pumpkin, and I was surprised at how tricky it is! You have to really put some muscle into it. Those seeds are a beast to get out.

pumpkin guts

I found a rather Tim Burton-esque looking face while I was working.

face

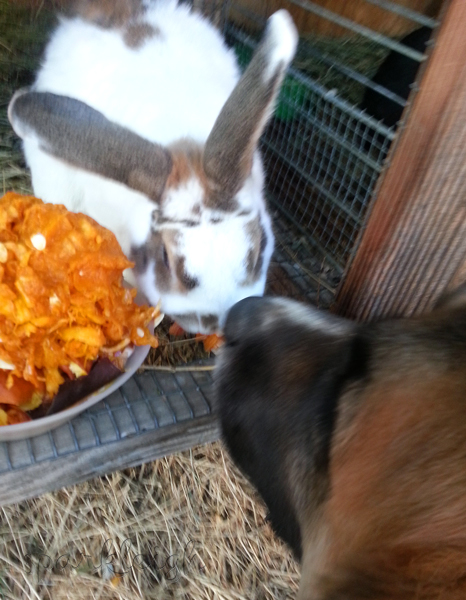
Our sweet white rabbit {who is no longer with us 😦 } loved getting some of the scraps, while Diesel our dog supervised.

animals

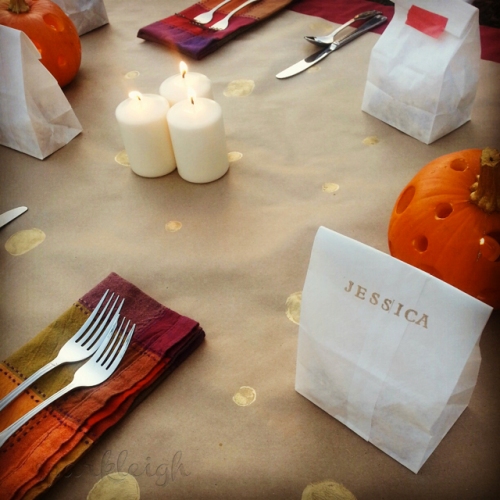
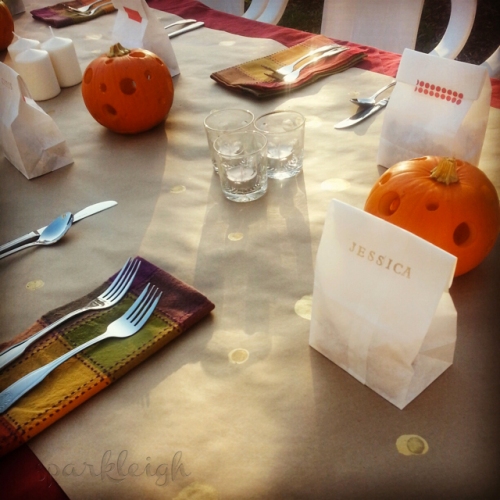
For the table runner, I use a long sheet of craft paper and stamped two different sized circles all over it at random with gold acrylic paint.

candle

The gold circles tied in with the gold stems of the pumpkins.

4IMGP0912 copy

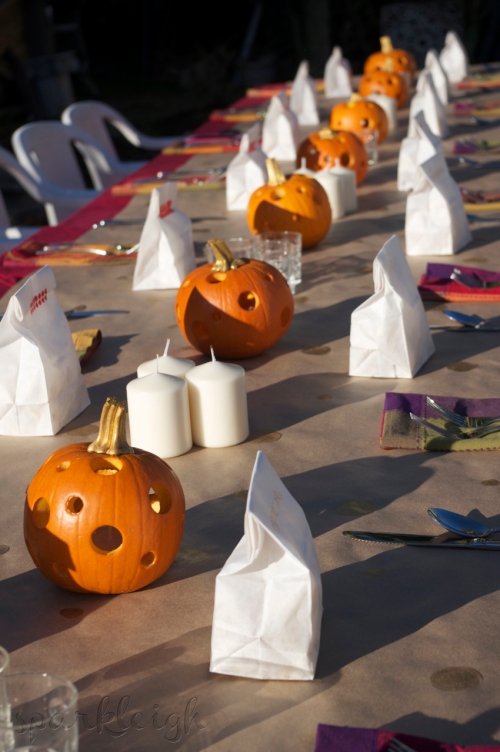
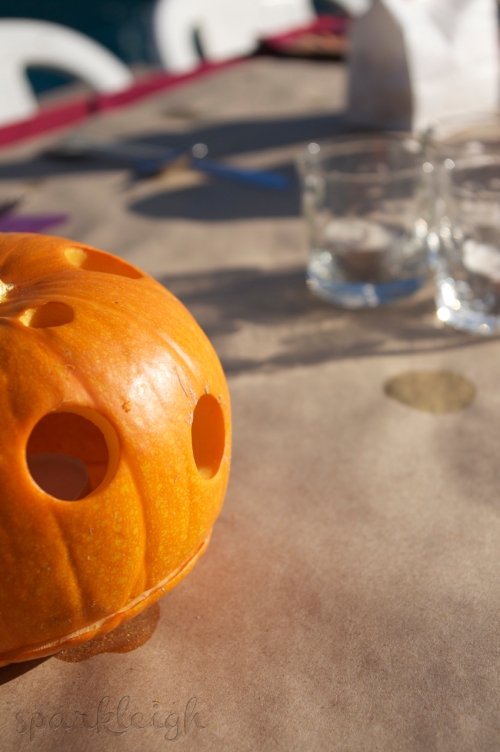
I continued the “polka dot” theme by drilling circles in the pumpkins that would  allow the luminaries to glow.

4IMGP0909 copy

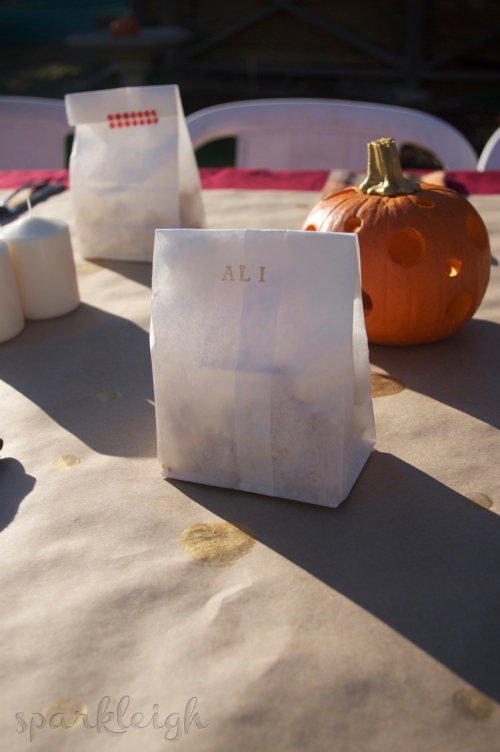
For place cards, I made a few batches of carmel corn {recipe here, though I added a ton of cinnamon, SO good!!} and filled individual, name-stamped paper bags with the crunchy goodness. Guests could munch throughout dinner, or during dessert if pumpkin pie didn’t float their boats {holla!}.

4IMGP0910 copy
4IMGP0908 copy

emma

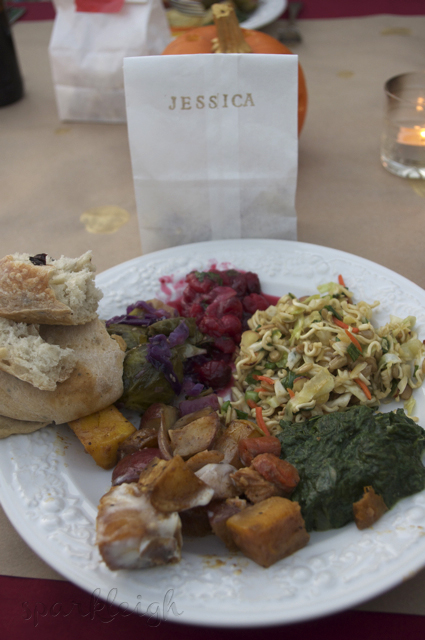
You’ll notice nothing on my plate but carbs and veggies. 🙂 None of that turkey nonsense for me.

food

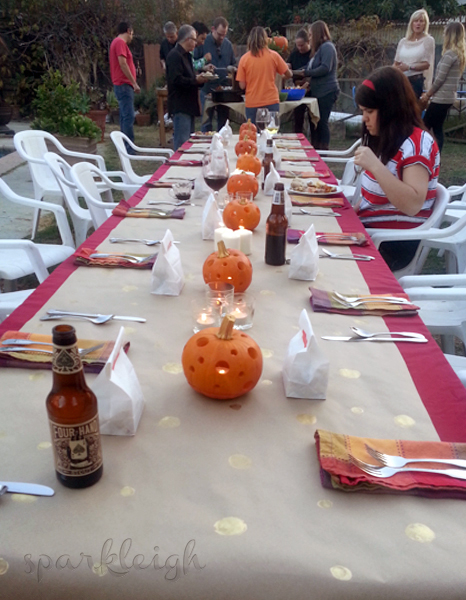
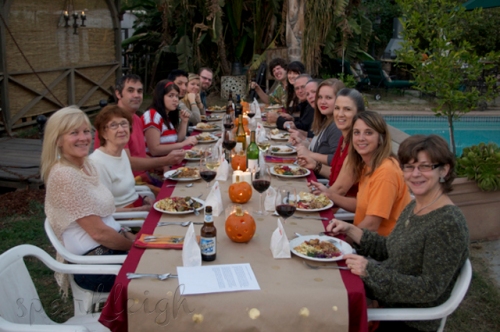
Our table full of lovely neighborhood friends . . .

people

glass

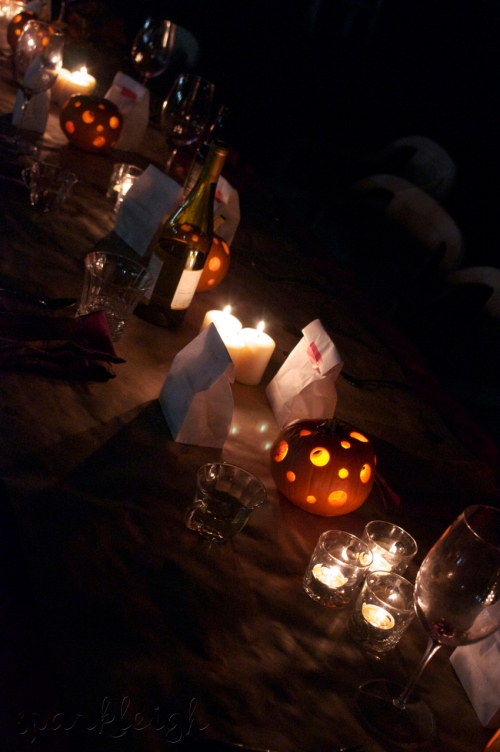
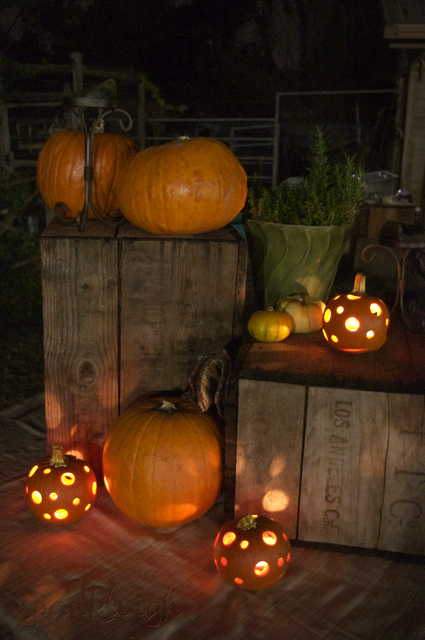
The pumpkins came alive as the sun went down.

4IMGP0930 copy

The food was placed around this buffet table my mom set up. I love the placement of the crates and pumpkins!

glowy
That wraps up our thanksgiving festivities. We all gathered around the fire-pit for dessert when it started to get chilly.  I say it very often, but I love where I live! So grateful we were able to enjoy our thanksgiving meal outdoors this year. 

1 Comment

Filed under Party

Decoupaged Day Planner Part 2

Happy weekend! Only a few hours left until Monday; hope you’re making the most of your Sunday night.

Without further ado, here’s my made-over day planner post I promised last month. {See part one, here!} I needed a new one (and had to end the school year planner cycle by jumping into the June section of a Jan.-Dec. calendar planner. No more school; bittersweet!) but am always on a super-tight budget, so I headed to the 99 Cent Store and found one in a size I liked. It was plain, but I liked the color, so I went ahead and splurged for $1. 🙂

I decided to jazz it up with a chevron-inspired pattern using masking tape and paint.

The paint all peeled off, so I retaped and instead used a paint pen. Thankfully, this method worked.

Then I topped the gold paint pen off with some sparkly nail polish for some extra pizazz.

Ta-da! Easy peasy, and one of a kind.

While putting together this post, I took a break to make kale chips that are now completely gone. haha. Now to wash them down with a little something. . .

2 Comments

Filed under Create

Decoupaged Day Planner

This is my current planner that I carry around with me. Despite the numerous technological options for scheduling, I still like good ol’ fashioned pen and paper to keep track of my plans.

I didn’t love the selection of planners available, so I bought the size I wanted and decided to redo the cover. I just snagged a catalog from my desk and got to work!

I found two coordinating pages and used them for the front and back.

The images weren’t super exciting, so I braided some embroidery string and fashioned it into a heart to jazz up the front.

I always need a quick reference to where we are in the month, so I braided a coordinating place marker right onto the top coil of the notebook. 
This was a super quick, simple project, but I like the DIY look. This scheduler actually ends in June, so I just bought a new one which I’ve already decorated. 🙂 Stay tuned to see that one, which I’m loving already.
Happy Monday!

2 Comments

Filed under Create

DIY Smart Cover Makeover

I’m too cheap to buy the authentic Apple Smart Cover for $50, so when I first bought my iPad 2, I got a decent knockoff online for around $20 less. Over the last couple of months, it started getting stains and peeling, which gave me an interesting idea. Rather than buy another fake (or splurge on a real one), why not remake my own with my pick of fabric? So I did.

Before

Starting to come apart

The magnets that wake/put to sleep the iPad

As a precaution, I took note of the spacing of the internal pieces

Innards

Everything completely separated

I used the old fabric as a template for the new fabric

Pieces ready to glue. I folded over the fabric tab and glued in the hinge that attaches the cover to the iPad. Then I glued the two pieces of fabric together sandwiched around the inner plastic pieces.

Despite double checking—so I thought—I accidentally glued the hinge on backwards (the magnet was on the wrong side). I had to take it apart and reglue the tab over the gray lining. (If done properly the first time, the tab would have been under the gray fabric giving it a cleaner look.)

The cover is far from perfect and has a homemade feel, but I love the pattern (my favorite fabric from when I worked in the Textiles department at IKEA)!

Ignoring the uneven edges, I like it! I know I’m the only girl with this case (until this goes viral ;)).

1/4 yard Outer Fabric: $0, already owned

1/4 yard Gray Lining: $3.53

Fabric Glue: $3.45, with 40% coupon

Total Cost: $6.98

One of a kind and cheap. Win!

3 Comments

Filed under Create

Warm Thanks & A Giant Apple

I’ve been slacking on my 365 creativity projects, but I do have two to share!

The day’s prompt was “Today, make a stencil and use it for your work”. On my to do list was to make a thank you card for a handmade scarf that was given to me, so I decided to combine forces and make a stencil for my card.

I struggled with what to cut and what not to cut (the inverse thing always confuses me. . .), but in the end got it right! I was happy with how it turned out, especially considering I have zero drawing skills.


The recipient loved the card. 🙂 

The next one said “Make something with your breakfast before you eat it”. Hard to make something out of granola, so instead I used two small apples as my medium. Simple, but kind of fun!

Mega apple. . .

More of an apple tower, I suppose. Have you done any cool things with your breakfast fruit?

Leave a comment

Filed under Create

Country Vintage Wedding

A little over a month ago, I had the pleasure of attending the beautiful wedding of two friends. It was held at the bride’s parents’ home just off California’s Central Coast. It was an amazing gathering of friends and family, where the emphasis was on celebrating with the couple and having a great time. There was good food, ample drink (alongside margaritas, the brother of the bride made six varieties of beer especially for the occasion),  and a live band to ensure dancing ’til the wee hours.

Before the wedding, I had fun with helping with some of the last minute DIY projects (signs, photo sets). My friends are so creative!

Lis designed these simple wedding signs that were perfect for the theme. (Thumbtacks, wood, and stain. Genius!!)

I went crazy with the flower photos because they were irresistible. (Arranged by Panacea Flowers) This is one of the bridesmaid bouquets — I love the feathers!

They had high boys set up for pre-ceremony cocktails and ceremony overflow. I love the dual-purpose blue bottled water that served as refreshments, while adding a pop of color to the space.

Here’s the fun photo set put together by some of the wedding party and friends. It was definitely a hit with the guests!

Another photo opportunity, this one slightly more interactive!

The beautiful flowers were arranged in assorted vintage vases and containers.

More flowers . . .

Keeping the bride and groom hydrated, using their gorgeous flutes.

Pie! There was lots and lots of pie.

The selection stayed stocked throughout the night.

This huge protea blossom was enhanced by the pink glow of the sunset — stunning!

The clear tent made for a great view of the sunset.

The spectacular sunset, with festivities below.

I had a wonderful time with great people, and I especially loved reconnecting with one of my BFFs! (Her husband’s cowboy hat made the rounds that night. . .)

One of the most fun weddings I’ve been to, and with pretty details to match. The newlyweds are off to a fabulous start!

1 Comment

Filed under Party

Wipe Clean

A few months ago I finally decided on a plan for my famous IKEA Ung Drill frame, which, until this, sat hanging empty on my wall. I wanted to incorporate more of my accent hot pink, so I took this opportunity to use a few shades of paint chips to pull everything together (haha, poor Home Depot. I made sure to return the ones I didn’t use!). It was pretty simple, but definitely time-consuming!

Almost there. . . I love the texture! Once done, I put the glass back on, and voila –  my new dry-erase board.

Overall, I’m happy with it. And, since it’s just sitting in the frame, I can always change it up later! Do you have a favorite way to leave notes around your house?

4 Comments

Filed under Create

Framed Earrings

Bonjour!

I’d been wanting a better storage solution for my earrings for a while, and this seemed like an easy and decorative way to do so! And cheap, which I’m always such a fan of. 🙂 I managed to find this antique frame in storage and already had an old window screen lying around. I put this together in about 10 minutes, using a staple gun.

I might hang it one day, but for now it rests happily on my dresser. I still keep posts and studs in a jewelry box, but I like seeing all my pretty dangly earrings on display. It makes accessorizing much more convenient!

Hope you’re having a good day!

1 Comment

Filed under Create

Big Bang Theory

Bonjour!

So, every few years when I get bored with my hair, I take the plunge into bangs territory. It had been about three years since I last had bangs and two years since my last haircut (definitely done with short hair for awhile. I’m still in growing out mode). Time for a change, yes? I’m completely a DIYer when it comes to hair (my mom still cuts and trims it for me. Haha) so I wasn’t at all scared to cut the bangs myself. As long as you take the time to gather the exact portion you want to cut and don’t cut too short, it’s not hard to achieve decent bangs at home.

I started by carefully “drawing” an even part with a comb, making sure to keep both sides even. I decided I wanted them thicker than in times past, so I went a little further back and created more of a peak than just straight across.

Next, I put back the rest of my hair and made sure I had sectioned just the right chunk of hair.

Now the fun part. Scissors time! I grabbed my hair shears and, after carefully calculating where I wanted the bangs to hit and taking into consideration the hair springing up (so cut it lower/longer than you want the bangs to end up on your face), I pulled the hair taught and cut. Because I gathered the hair into my hand centered over my nose, the shape of the bangs ended up slightly longer at either side by my temples, just like I wanted.

Halfway there! I did it in two cuts to maintain control.

After making the initial cut, I twisted the bangs tightly together and snipped the ends with the shears vertically, in order to break up the blunt cut and give them a little more softness.

Then I straightened them and checked out my final result.

Voila! They’re certainly hard to deal with day to day, but they gave me just the change I was looking for.

As a finishing touch, I decided to add a really subtle ombré to the ends. I know this trend started years ago and really should be done with, but I’m not hating it quite yet. I used the highlight portion of a L’oreal Couleur Experte (UGH I was soo disappointed by this $16 color. I didn’t see a hint of difference after applying the base color and the highlights were way less noticeable than the box implied they would be) entirely on my ends.

Thankfully with only the one application, I came out with the look I wanted. I wouldn’t have minded a slightly more pronounced look, but it’s very natural which I’m okay with.

Well, that was my recent hair fun. What do you do to cure your hair blues?

1 Comment

Filed under Beauty