
I decided to hop on the Whole30 bandwagon last fall after watching one of my best friends and an 1/8th of my instagram feed go through it in the preceding months. I’m all for eating healthily, and thankfully have fairly healthy habits to begin with (thanks mom!). This diet, however, cut out all that extra stuff that is so easy to go overboard on, and I knew more than anything, this would be an excellent exercise in extreme self-control (I L-O-V-E food and get more excited by it than almost anything else in life. I’m one of those annoying people who reads menus for hours before anxiously deciding on “the one” for the evening. And if the choice is good? People around me will notice me doing a completely involuntary happy dance. If it’s bad—well, I need to learn to shut up about order regret!).

I knew before even starting this that cooking for myself would be the easiest part (if I didn’t look in the cheese drawer); it would all come down to others offering me treats at work, pizza at my other late night job, dinner out with friends, halloween candy, birthday celebrations. . . Sure enough, that’s what was so hard. Not only the temptation, but even more so the social pressure and the borderline hurt/confused looks on people’s faces when you turned down their kind offers.

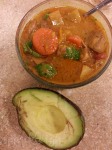
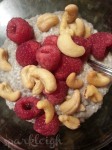
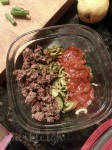
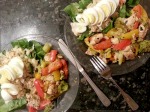
Spiralized Root Veggie Salad
What I wasn’t ready for was the borderline ridicule I got from some people. Unless you’re a hermit, you really have to have a thick skin when you do Whole30. Very few people understood the diet and kept going back to me “not needing to diet” because I’m “already so skinny” (Slender, yes. Skinny, no!! Don’t get me started on that subject.). I couldn’t get through to some people that I was doing it for my health; it had 0% to do with weight. And because those who know me know I tend to eat healthier than the average person, they just blew it off as unnecessary. This is where it gets silly—but true—I was relieved that I have been suffering from eczema for the past 8 years so that I could show them my hands and explain that Whole30 is an elimination diet and that through completing it, I was hoping to find out the cause of my eczema flare ups. While that was certainly part of the reason for me doing this meal plan, I had to emphasize that factor because it was my saving grace. “Ohhh,” they would say, because in their heads, seeing a physical symptom gave them justification for me eating healthier. Right, because being healthy for health’s sake isn’t enough! 😛 Okay, sorry for the tangent. 🙂 Point is, do this for YOU and know clearly in your head why you’re doing and why it’s worth it. Also, side note, try your best to avoid having it fall over a holiday. . . (coughThanksgiving).

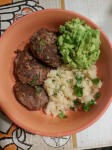
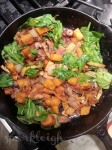
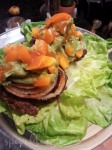
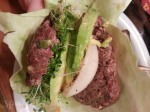
Loaded Burger + Grilled Squash
Since I brought up the eczema, I’ll address that. Turns out I could see signs of it healing within two days. It was completely gone in two weeks. And! I hadn’t noticed until I went back to “regular” eating that my usual red/burning eye thing that happens when I’m tired had completely stopped during those 30 days. I didn’t have to use eyedrops once! Subsequent post-Whole30 experiments have led me to believe that wheat and/or gluten is the culprit. My next step is narrowing it down to the specifics. I hate to be one of those people with a wheat allergy, but it looks like all that hype might be legit. ha. I DO think we have wayyyy too much of it in our diets (along with sugar) and it’s entirely possible our bodies are simply becoming overloaded. I don’t mind skipping out on most wheat products and only splurging when I feel up to a good itching session the next day.

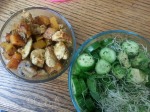
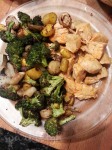
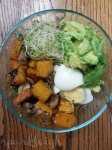
Veggies + Guacamole
A big part of Whole30 is trying to kick cravings. While my cravings never went away, they did change. I was able to occasionally give in to the cravings in a healthy way (some dried fruit became my after-lunch dessert at my desk and roasted nuts or a few plantain chips helped curb the salty cravings). I know some people think cravings are the worst thing for you, but as long as you treat them reasonably and don’t get carried away, I don’t have a huge problem with them. It felt surprisingly good to say no to a co-worker’s birthday cake at work and instead eat the berries I brought to contribute.

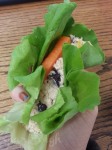
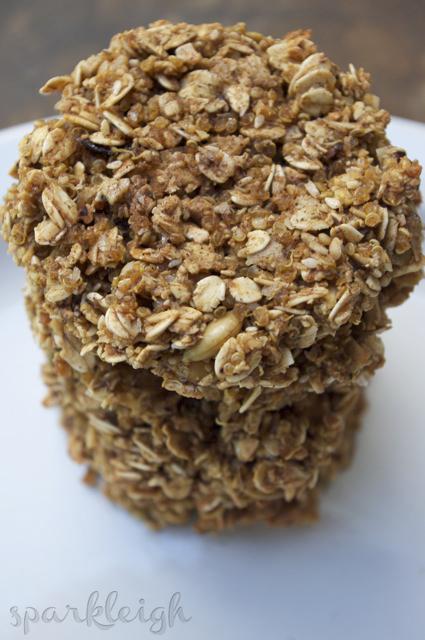
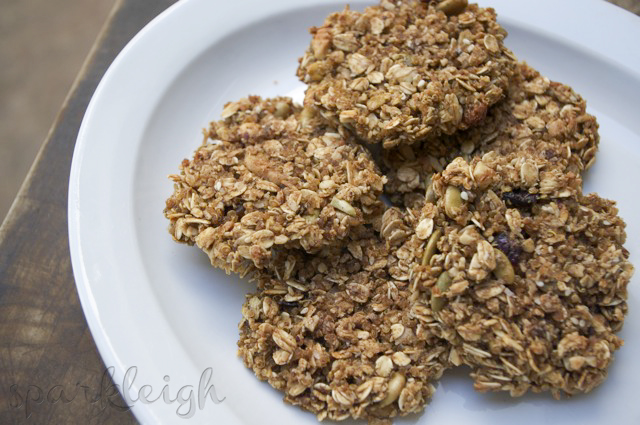
Alternative to Cake!
To others who are participating or considering doing Whole30, I’d stress the importance of making a firm game plan for what you eat after the 30 days. Without a conscious plan, you’ll likely cannonball back into your old eating habits. Once you have that first bite of cake, it’s so easy to eat with abandon! Though my habits definitely improved overall, I’d still like to get closer to eating “cleanly” all the time like I was with Whole30. It was fun and rewarding seeing how creative you can get with the limited “allowed” ingredients.

I could go on for quite awhile about other aspects of this experiment, but that would take all night. The 30 days was such a good experience in taking a good look at my eating habits and pushing the boundaries of what is considered “normal” food; I learned you really can live without grains, cheese, and honey for a month. Of course I knew that, but it felt like an accomplishment to actually do it. I now eat way less grains and bread, though the California and Wisconsin blood in me simply can’t live without cheese! I’d recommend Whole30 to anyone looking to reassess their food habits and/or trim the excess out of their diets/bellies/lives. It is more expensive to eat cleanly, but considering you are literally fueling your body, it is simply an investment in your health. I’d rather pay for good food than a hospital stay, any day!
I’ll sign off with a bunch of cell phone pics that I snapped during the month as a way to document favorite combos and to inspire me on days I lacked motivation.


Seeing these pictures makes me want to eat it all again! Mmm. If you’re on the journey, good luck! It will very likely be worth it.


